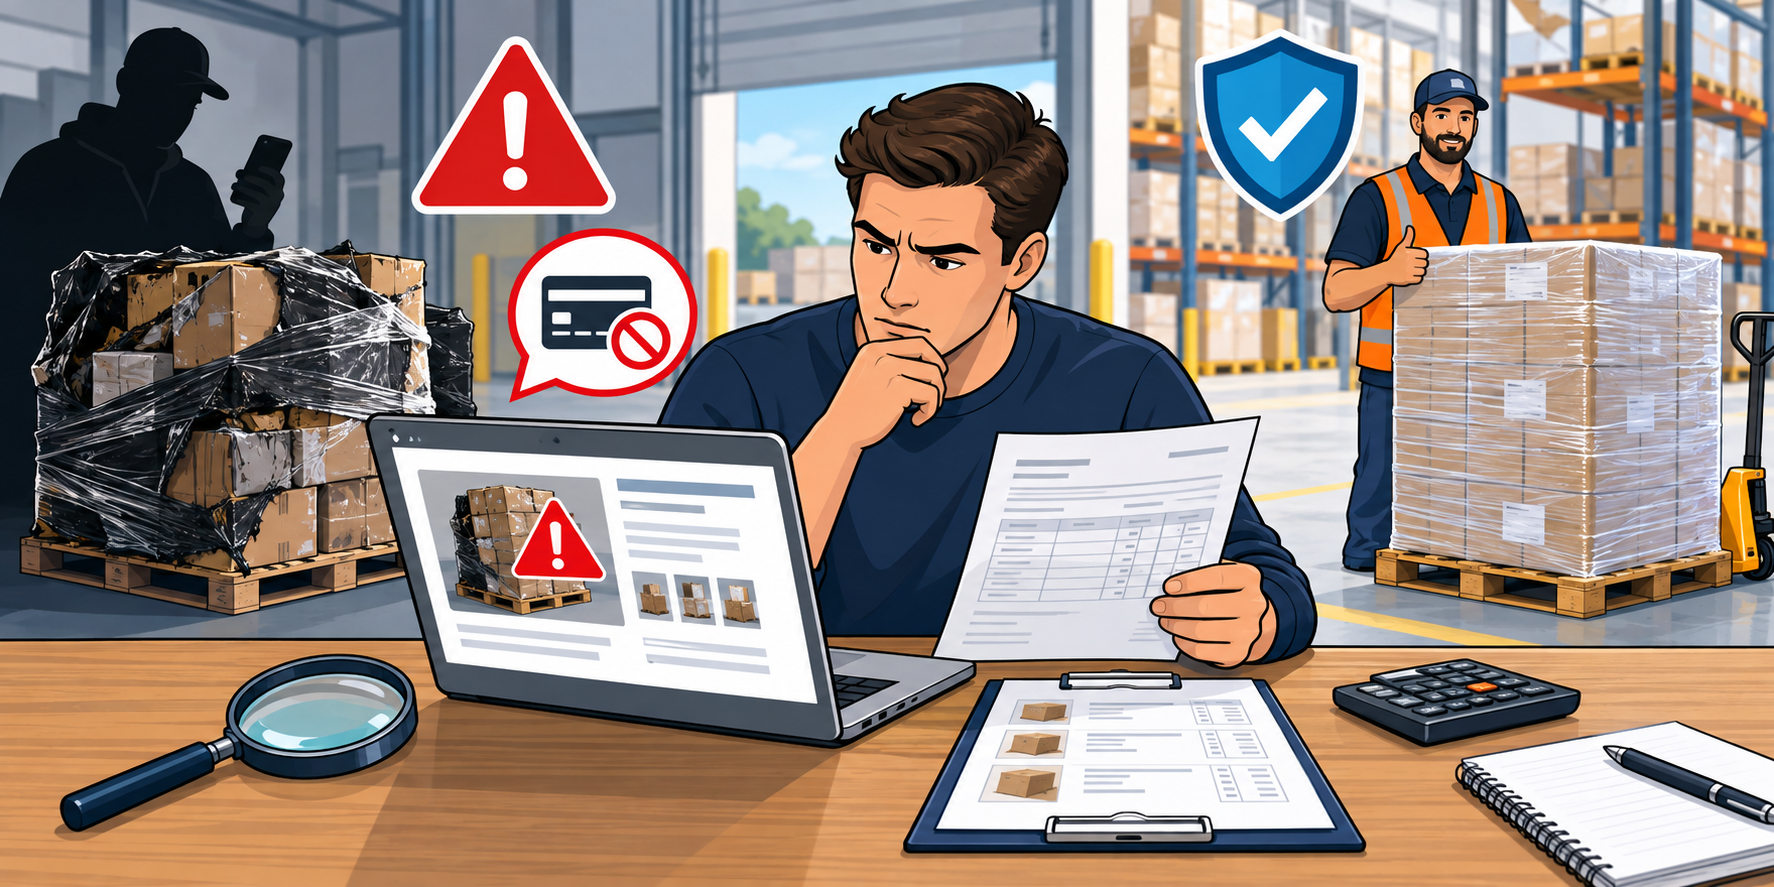

A liquidation pallet does not become a successful purchase when the truck arrives. It becomes a successful purchase only after you confirm what was delivered, document its condition, organize the merchandise, and compare the usable inventory with what you expected to receive.
The first hour after delivery can determine whether you have the evidence needed to report freight damage, a shortage, or a major discrepancy. It can also prevent good merchandise from becoming mixed with damaged, incomplete, or untested products.
This guide explains how to inspect a liquidation pallet when it arrives and how to create a repeatable receiving process for every order.
Prepare Before the Delivery Arrives
Do not wait until the driver is at the door to decide where the pallet will go. Create a clean receiving area with enough room to photograph, measure, unwrap, sort, and test the merchandise.
Before delivery, have the following ready:
- A copy of the order confirmation, invoice, manifest, and freight information
- A phone or camera with enough storage and battery power
- A permanent marker, labels, tape, and numbered sorting bins
- A box cutter or safety knife
- Gloves and any other appropriate protective equipment
- A scale or measuring tape when weights and dimensions matter
- A computer or printed receiving worksheet for recording results
- A testing area with the chargers, batteries, outlets, or accessories needed for the product category
If you have not already calculated delivery expenses, review our guide to liquidation pallet shipping costs. Liftgate service, limited-access delivery, redelivery, storage, and waiting time can change the true cost of an order.
Inspect the Pallet Before You Sign
Look at the entire shipment while it is still on the trailer or immediately after it is unloaded. Do not begin cutting shrink wrap until you have documented the pallet as delivered.
Check for visible problems such as:
- Crushed, punctured, wet, or torn cartons
- Broken or leaning pallets
- Loose merchandise or missing stretch wrap
- Cut bands or wrap that appears to have been replaced
- Products extending beyond the pallet edges
- Signs that boxes shifted or fell during transit
- A pallet count that differs from the delivery paperwork
- Labels or identification numbers that do not match the order
Walk around every accessible side. A pallet may look acceptable from the front while hiding a crushed corner or punctured carton on the opposite side.
Photograph the Shipment While It Is Still Wrapped
Take clear photographs and a short continuous video before removing any wrap. Start with a wide view showing the complete pallet and receiving area. Then capture each side, the top, the pallet base, the shipping label, identification numbers, and every visible area of damage.
Good receiving photographs create a timeline. They show that the condition existed before you opened, sorted, moved, or tested the merchandise. Keep the original files and avoid editing them.
Photograph the following:
- The pallet as it comes off the truck
- All four sides and the top
- The freight label and pallet or lot number
- The seal or stretch wrap
- Broken boards or unstable stacking
- Wet, crushed, torn, or punctured boxes
- The delivery vehicle or trailer when relevant and permitted
- The signed delivery document, including any exceptions you note
Record Visible Exceptions on the Delivery Document
When damage or shortages are visible, describe them on the delivery receipt or bill of lading before signing. Avoid vague wording such as “damaged.” Be specific: for example, “one of three pallets received with crushed right side, torn wrap, and two exposed cartons.”
Do not state that the shipment was received in good condition if you can already see a problem. Ask for a copy of the signed document and keep it with the order records.
A notation does not automatically guarantee that a claim will be approved. Claim deadlines, responsibilities, exclusions, and required evidence vary. Review the seller’s and carrier’s written procedures immediately rather than assuming you can report the problem later.
Confirm the Pallet and Order Identity
Before opening the pallet, compare its labels with your invoice and order confirmation. Confirm the supplier, warehouse, lot number, pallet count, category, and advertised condition.
If the shipment does not appear to be yours, pause the receiving process and contact the appropriate party before unwrapping it. Opening the wrong pallet can make the situation more difficult to resolve.
Move the Pallet to a Controlled Receiving Area
Place the shipment on a level, dry surface with room to work safely. Keep it separate from other inventory until the initial inspection is complete.
Create clearly marked areas for:
- Unopened and uncounted merchandise
- Counted items
- New or resale-ready products
- Open-box or incomplete products
- Untested items
- Damaged merchandise
- Parts, recycling, or disposal
- Items involved in a possible claim
This prevents merchandise from being counted twice and preserves questionable items for additional documentation.
Open and Unload the Pallet Methodically
Remove the wrap gradually. Photograph each layer as it is exposed, especially if damage becomes visible only after the outer wrap is removed.
Assign each pallet or lot its own receiving number. As products come off the pallet, record the item description, quantity, apparent condition, and any identifying information needed for comparison with the manifest.
Do not rush to clean, repair, combine, or resell products before completing the initial count. Changing the condition too early can weaken your documentation and make it difficult to reconstruct what arrived.
Compare the Contents With the Manifest
A manifest is a useful comparison tool, but it is not always a guarantee. The seller’s terms may describe quantities, models, retail values, or conditions as estimated.
Compare the delivered merchandise with the document line by line. Our guide to reading a liquidation manifest explains how to evaluate quantities, model numbers, original retail values, duplicate items, and condition descriptions before and after a purchase.
Track at least four types of discrepancies:
- Missing items: products listed but not received
- Extra items: products received but not listed
- Substitutions: different models, sizes, colors, or products
- Condition differences: merchandise that appears materially different from the advertised condition
Save the original manifest separately and make your receiving notes on a copy or in a spreadsheet.
Sort by Actual Condition, Not Original Retail Value
The condition listed by a supplier describes the load broadly. Individual products inside it may vary. Sort according to what you can verify after delivery.
Useful receiving grades include:
- New and factory sealed
- New with damaged packaging
- Open box and apparently complete
- Used and functional
- Untested
- Incomplete or missing accessories
- Cosmetically damaged
- Nonfunctional
- Parts only
- Unsellable or disposal
Review liquidation merchandise conditions and grades before assuming that terms such as shelf pulls, customer returns, refurbished, or salvage have identical meanings across every supplier.
Test Products With a Consistent Procedure
Visual inspection alone cannot confirm that an electronic device, appliance, tool, or mechanical product works. Develop a testing procedure appropriate to the product category and apply it consistently.
Your records might include:
- Product or inventory number
- Date tested
- Person who performed the test
- Accessories included or missing
- Power-on result
- Functions tested
- Cosmetic condition
- Repairs or cleaning required
- Final resale grade
Do not describe an item as tested unless you can explain what was actually tested. “Powers on” is not the same as “fully functional.”
Recalculate the Purchase Using Recoverable Inventory
After counting and grading, update the financial estimate you made before buying. Replace optimistic assumptions with actual quantities, condition, expected selling prices, platform fees, labor, repair costs, and disposal losses.
The original retail value is not your profit. Use our guide on how to calculate liquidation pallet profit to measure your break-even point and expected return using realistic recoverable value.
Track these percentages over time:
- Manifest accuracy rate
- Resale-ready rate
- Repairable rate
- Parts-only rate
- Unsellable rate
- Estimated recovery rate
These results are often more valuable than the advertised retail value because they help you compare suppliers, categories, warehouses, and merchandise conditions using your own experience.
Report Problems Promptly and Professionally
If the shipment has a material shortage, freight damage, incorrect merchandise, or another documented problem, review the written claim procedure immediately. Contact the responsible party using the required channel and provide organized evidence.
A clear report should include:
- Order and invoice numbers
- Lot or pallet identification
- Delivery date and carrier information
- A concise description of the issue
- The quantity and value affected
- Photos and video from before and during unwrapping
- A copy of the delivery receipt with noted exceptions
- The manifest comparison
- The resolution requested
Keep damaged merchandise and packaging until you receive instructions. The supplier, carrier, insurer, or claims administrator may ask for additional photographs or an inspection.
Create a Supplier Receiving Scorecard
One pallet does not tell you everything about a supplier, but each delivery should add to your records. Score communication, freight coordination, packaging, manifest accuracy, merchandise condition, claim handling, and overall recovery.
When researching future sources, use the Liquidators Guide supplier directory and review our guide on how to vet liquidation suppliers. Always perform your own due diligence before paying for inventory.
Liquidation Pallet Receiving Checklist
- Prepare a clean receiving and sorting area
- Keep the invoice, manifest, and freight documents available
- Count the pallets before signing
- Inspect all accessible sides for visible damage
- Photograph and video the wrapped shipment
- Note specific exceptions on the delivery document
- Verify pallet and order identification
- Unwrap one layer at a time
- Record quantities and discrepancies
- Sort products by actual condition
- Test appropriate merchandise consistently
- Recalculate recoverable value and profit
- Submit documented claims within the required deadline
- Update the supplier scorecard
Frequently Asked Questions
Should I refuse a damaged liquidation pallet?
That decision depends on the severity of the damage, the delivery terms, the carrier’s procedures, and the seller’s instructions. Document the condition before signing and contact the appropriate party immediately. Do not assume refusal is always required or that accepting the pallet eliminates every possible claim.
How long do I have to report a shortage or damage?
Deadlines vary by seller, marketplace, carrier, and type of claim. Review the written terms as soon as the shipment arrives. Waiting can reduce your options even when the problem is legitimate.
What if an unmanifested pallet is different from what I expected?
Unmanifested inventory is usually sold with greater uncertainty. Compare the shipment with the listing, photographs, category, condition description, invoice, and written promises rather than expecting an item-by-item match that was never offered.
Should I test every item?
Testing every unit provides the clearest information but may not always be practical. Use a written procedure based on merchandise type, risk, selling channel, and customer expectations. Clearly distinguish fully tested, partially tested, power-tested, and untested inventory.
Why keep a receiving scorecard?
A scorecard converts each purchase into useful business data. Over time, it shows which suppliers, conditions, categories, and warehouses produce the most consistent results for your operation.
A Strong Receiving Process Protects Your Investment
Liquidation inventory always involves uncertainty, but a disciplined receiving process helps you separate merchandise risk from preventable mistakes. Inspect before signing, photograph before unwrapping, count before mixing inventory, and calculate profit using what you can actually recover.
For more step-by-step purchasing guidance, take the FREE Liquidation Buyer Academy course and learn how to evaluate suppliers, merchandise, manifests, freight, and profit before committing your money.

Your Next Pallet Purchase Starts With Better Preparation.
Learn how to evaluate suppliers, understand merchandise conditions, and review liquidation manifests. Sign up for the FREE Buyer Academy and complete the lessons before your next purchase.
Already enrolled? Keep going—complete your training before you buy.

Rob has been involved in the liquidation and secondary-market industry since 2002. Over the course of his career, he has brokered and exported liquidation pallets and truckloads of merchandise throughout the United States and has worked extensively with closeouts, shelf pulls, customer returns, and other secondary-market inventory.